Tools Required :-
1) IP Address of Friend with whom you want to chat
2) MS Dos Command Promp ( just go to Start >> Run >> Type "cmd" . .
Steps :-
1) Open the notepad and copy paste the below code into it ..
2) Save this as "Messenger.bat"
3) Now open the MS Dos Command Promp ( just go to Start >> Run >> Type "cmd" )
4) Drag this file ( Messenger.bat ) Command Prompt and then press Enter
5) Now type the IP Address of the Friend and press Enter
6) Now all you need it to type message and then press Enter to send Message
Note :- To chat with friend u have to enable Messanger
Click on Start >> Control Panel >> Administrator Tools >> Services >> Find for " Messanger " . Open it
Startup Type : Automatic . . Then Click Start . .
Apply and then lastly OK !!

1) IP Address of Friend with whom you want to chat
2) MS Dos Command Promp ( just go to Start >> Run >> Type "cmd" . .
Steps :-
1) Open the notepad and copy paste the below code into it ..
@echo off
:A
Cls
echo MESSENGER
set /p n=User:
set /p m=Message:
net send %n% %m%
Pause
Goto A
2) Save this as "Messenger.bat"
3) Now open the MS Dos Command Promp ( just go to Start >> Run >> Type "cmd" )
4) Drag this file ( Messenger.bat ) Command Prompt and then press Enter
5) Now type the IP Address of the Friend and press Enter
6) Now all you need it to type message and then press Enter to send Message
Note :- To chat with friend u have to enable Messanger
Click on Start >> Control Panel >> Administrator Tools >> Services >> Find for " Messanger " . Open it
Startup Type : Automatic . . Then Click Start . .
Apply and then lastly OK !!
Another Procedure for chatt from Command Prompt :
First of all you have to check if this service is enabled or not. To do that:
Step1 : start --> run --> (type) services.msc --> (press) ok
Step2 : find for 'messenger' services
Step3 : double click it ! change status form disabled to automatic if it is 'disabled'.
Step4 : and then press Start button & click finish.
Now, you need to open a Command Prompt Window (DOS), and use the NET command with Send parameter and to do that:
Step5: Click start --> run --> (type) cmd
Step6: To send a message please type: net send name_of_user or computer_name or IP Address and the_text_message
In the above pic, uptest is a computer name


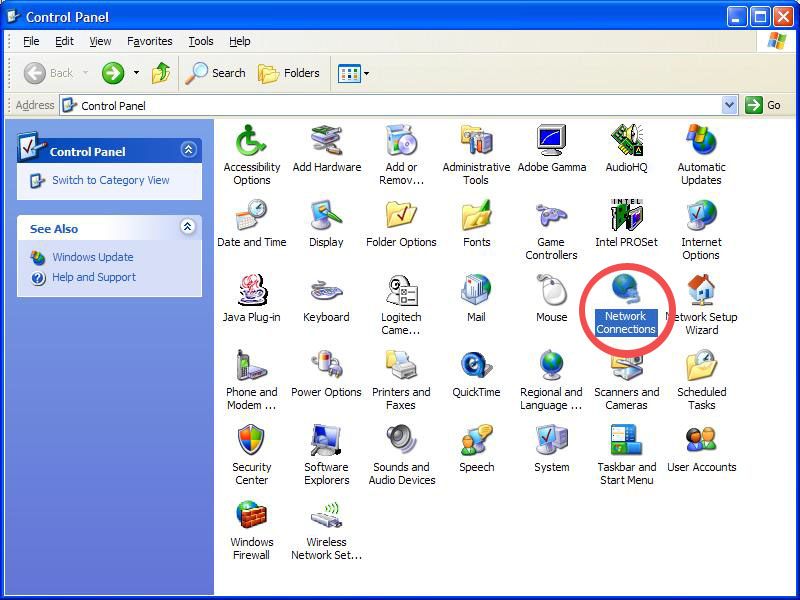


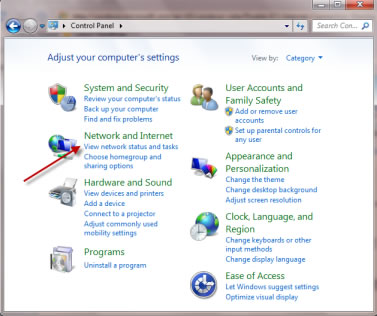
 > Click Control Panel.
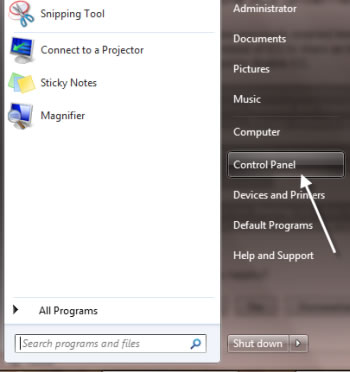


