Windows XP SP3 – Enabling Remote Desktop With Network Level Authentication
In a previous post I set up Windows Vista SP1 to enable concurrent Remote Desktop sessions. This means that mutiple users can be logged in to my Vista machine via remote desktop at the same time. What I did not mention was that had also I enabled Network Level Authentication (NLA) for extra security.

The problem is that Windows XP SP3 does not support NLA out-of-the-box. Some tweaking in the registry is required to enable it (from the Microsoft KnowledgeBase article):

The problem is that Windows XP SP3 does not support NLA out-of-the-box. Some tweaking in the registry is required to enable it (from the Microsoft KnowledgeBase article):
- Click Start, click Run, type regedit, and then press Enter.
- In the navigation pane, locate and then click the following registry subkey:
HKEY_LOCAL_MACHINE\SYSTEM\CurrentControlSet\Control\Lsa - In the details pane, right-click Security Packages, and then click Modify.
- In the Value data box, type tspkg. Leave any data that is specific to other SSPs, and then click OK.
- In the navigation pane, locate and then click the following registry subkey:
HKEY_LOCAL_MACHINE\SYSTEM\CurrentControlSet\Control\SecurityProviders - In the details pane, right-click SecurityProviders, and then click Modify.
- In the Value data box, type credssp.dll. Leave any data that is specific to other SSPs, and then click OK.
- Exit Registry Editor.
- Restart the computer.
Note that I performed the following actions on a clean install of XP Professional SP3 (connected to a Workgroup) with Remote Desktop not yet enabled:
First download termsrv.dll (version 5.1.2600.5512).
Next make a backup of the termsrv.dll files in the following locations:
- C:\Windows\System 32\
- C:\Windows\System 32\dllcache
- C:\Windows\ServicePackFiles\i386
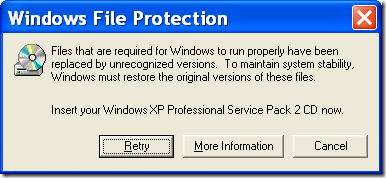
If you see the following file protection error just click Cancel:

The next step is to make some changes to the Windows Registry with the ts_multiple_sessions.zip file. Unzip the file and double click on the .bat file to make the necessary registry changes.
If you want to review the changes that this file will make before running it you can just right click it and then select Edit.
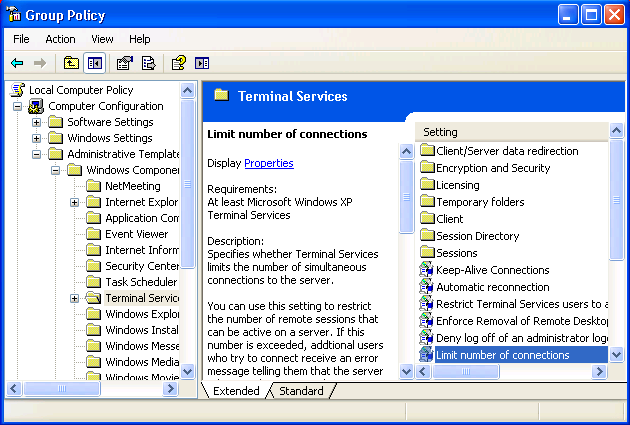
Now we just need to define the number of concurrent remote desktop connections / sessions that we want to enable. Click Start then Run and type gpedit.msc and then click OK. In the Group Policy window expand Computer Configuration, Administrative Templates, Windows Components and then Terminal Services in the left pane. In the right pane double click on Limit number of connections and define the number of remote desktop sessions.

To finish up we just need to make sure that we turn on Remote Desktop and enable Fast User Switching as follows.
- Click Start, Control Panel and then System. Click the Remote tab and then click the Allow users to remotely connect to this computer check-box. Keep this window open.
- In Control Panel click User Accounts. Under the Pick a task heading click Change the way users log on or off and make sure that Use Fast User Switching is enabled.